Really though, every meal is fixed and eaten for leftovers or re-purposed for another meal. So in light of this re-purposing, I thought I would do a few meals with one WHOLE chicken. These meals will feed 5 people and will only consist of ONE chicken.
First day: Chicken in the Crockpot
All of these re-purposed meals start with 1 whole chicken in the crockpot. Alternately you can use chicken pieces (like bone in thighs, drumstick, breasts etc) and do the same idea, but I use a whole chicken.
Usually I tell people that cooking chicken in the crockpot is the best and easiest thing you will ever, ever do. And it's so easy (and way better for you in fact) that you should do it at least once a week! However, some people can't handle that much chicken. BUT I've gotten a lot of questions about HOW to do the chicken without overcooking it. Simple solution is a crockpot with a probe, like this one (Click to see larger):

Not only is this crockpot programmable but it's got a temperature probe and when your chicken reaches desired temp it will turn to WARM! You will never have overcooked chicken again! SO BRILLIANT!
I digress.... ;)
So what you will need (besides a cool crockpot that turns itself off):
I digress.... ;)
So what you will need (besides a cool crockpot that turns itself off):
1 Whole Chicken with Giblets (trust me on this one, you won't eat them, but you will use them) 6-8lbs
Chicken seasonings of your choice (or if pick one of mine, use BEST CROCKPOT CHICKEN first)
Place defrosted chicken into the crockpot upside down. Cover with seasoning then flip over and cover the top. Place lid on crockpot and if you have a probe, stick it into the breast, closest to the bone but not touching. If using the program, set it for 160 on low. This should take 5-6 hours, but count on it being done sooner so it can continue to sit there and reach the final temp of 180 (fully cooked but not dry chicken). If you set your probe for 180 it will ultimately go over and dry your bird out. If you want to cook on high it's 3-4 hours, but I never recommend a chicken on high. Even with a probe. It looses some juicy.
With this meal I usually serve white rice (I know, boring but when cooked when chicken broth, it's amazing) and a veggie. It's key when you know you are going to re-purpose a meal that you pick things you can cook ahead and re-purpose for your next meal.
So remove ALL of the meat from the chicken bones but leave the bones (and chicken fat and giblets, unless you like eating those) in the crock pot. Cut the extra chicken into bite sized pieces and store for tomorrow.
Also, make 2-3 cups MORE dry rice then you need. You can either put this into your Chicken Rice Soup meal, or the Chicken Taco meal. So save your left overs for tomorrow.
1 onion
2-3 rough cut carrots (or the peels and ends of carrots you saved from the last time you needed carrots)
1-2 ribs of chopped (or the cleaned ends and leaves of the last batch of celery you used)
2-3 bayleaves
Salt and Pepper
Optional: 1 Tablespoon Apple Cider Vinegar (If you want more nutrition from your broth, use it!)
Fill the crockpot with water (up to the rim) and set it on high. You can cook this for 8-24 hours depending on how rich you want your broth to be. I try to cook mine no less then 24, but often I'm in a hurry to get the broth done for the next day's re-purpose meal. So I stick it in right after dinner and it's ready by dinner the following day.
When you've hit your time, taste and adjust for salt. Usually I cook my broth salt free (only the salt that was in the crockpot from the seasonings first is in the broth as it cooks) and add it when I need it, if it needs it. There are some seasonings that are salty enough.
If you aren't going to use the broth at the moment it's done, strain it with a find mesh strainer (press all the carrots into mush, it gives the broth a great color), allow to cool, then store in fridge or freezer. Just be aware that if you store in glass jars the broth expands and WILL shatter all over your freezer. BTDT. So I love to store my broth in large muffin tins then pop out when frozen and store in another container. Then I have 1 cup portions to play with.
But we are going to go right into tonight's re-purpose meal!
What you will need:
The broth you just made (or 8-10 cups of broth and water)
Left over chicken from yesterday
Left over rice from yesterday (or 2-3 cups dry white rice)
4-6 thin sliced carrots
2 ribs of celery (sliced thin)
1 onion (sliced thin)
Directions when using leftover rice:
To a large stock pot add: the broth, onion, and your veggies. Turn the heat on high and bring to a boil. AS soon as it starts to boil, set your timer for 10-15 minutes and check your carrots for doneness. When they are just al dente, add in your left over rice and chicken. Once warmed, the soup is done.
Using left over rice makes this a nice comforting soup. When making the rice inside the soup, it's much thicker and more hearty.
Directions when using dry rice, not leftover:
To a large stock pot add: the broth, onion, and your rice.
Turn the heat on high and bring to a boil. AS soon as it starts to boil, add in your carrots and celery, stir and cover until rice is done and tender.
If you use only have minute rice, do not add the rice until the carrots are tender. Alternately, you could add your rice after the carrots are tender. Cover and remove from heat to finish. Though I don't suggest that.
When the rice is almost done, check your broth level. Sometimes I have to add some water to keep it a little more soupy, and some times I don't. This isn't soup like chicken noodle, but it's more hearty with little liquid, but enough to call it soup.
Just before the rice is done, put in the leftover chicken and once the chicken is warm, it's done!
My kids absolutely love this meal and we have it at least once a month (if not twice) in the winter and at least once in the summer.
What you will need:
Leftover chicken
Leftover rice
Taco seasoning
1/2-1 cup of salsa
1/2 -1 cup of chicken broth you just made
flour or corn tortillas (alternately you can buy your own pre-made taco shells)
frying oil
veggies for tacos (lettuce, tomato, onion, cheese, avocado, etc)
Combine leftover rice in a pan with chicken broth and salsa. Mix well and sprinkle some taco seasoning over the top. Just enough to color the rice and give it that Spanish flare. Turn on low and let it warm slowly as you put together the rest.
Also sprinkle the left over chicken with taco seasoning. Don't be heavy handed as it can get extra spicy!
Add oil to a pan and once hot enough, using tongs, drop in one corn tortilla. If it starts sizzling immediately, you know you have a good temp. If it just kind sits there, your oil might not be hot enough. Turn the tortilla immediately and fold over like a taco shell. Cook a minute or so on each side then drain on paper towels. I usually spread the first shell apart with my fingers and stack the rest upon it so that they don't dry closed! Nothing worse then a perfect shell that has dried closed.
You can do the same to the flour tortillas but note the inside doesn't get crispy so it's almost like a gordita shell. My husband (who isn't wheat intolerant) loves them.
Once you are almost done with your shells, add some oil to a pan and once hot, add the left over chicken that you've sprinkled with taco seasoning. Fry it up until warmed through.
When everything is warmed and done, put some meat, some Spanish rice, and cheese in a taco shell and let the picky eaters decide what veggies they want on it.
If you don't fry your own shells, this meal takes less then 10 minutes (start to finish) to get on the table.
Hope you found this interesting. I just did BOTH of these this week, so I thought I would share. I have more re-purposed meals I will share as the days go by.
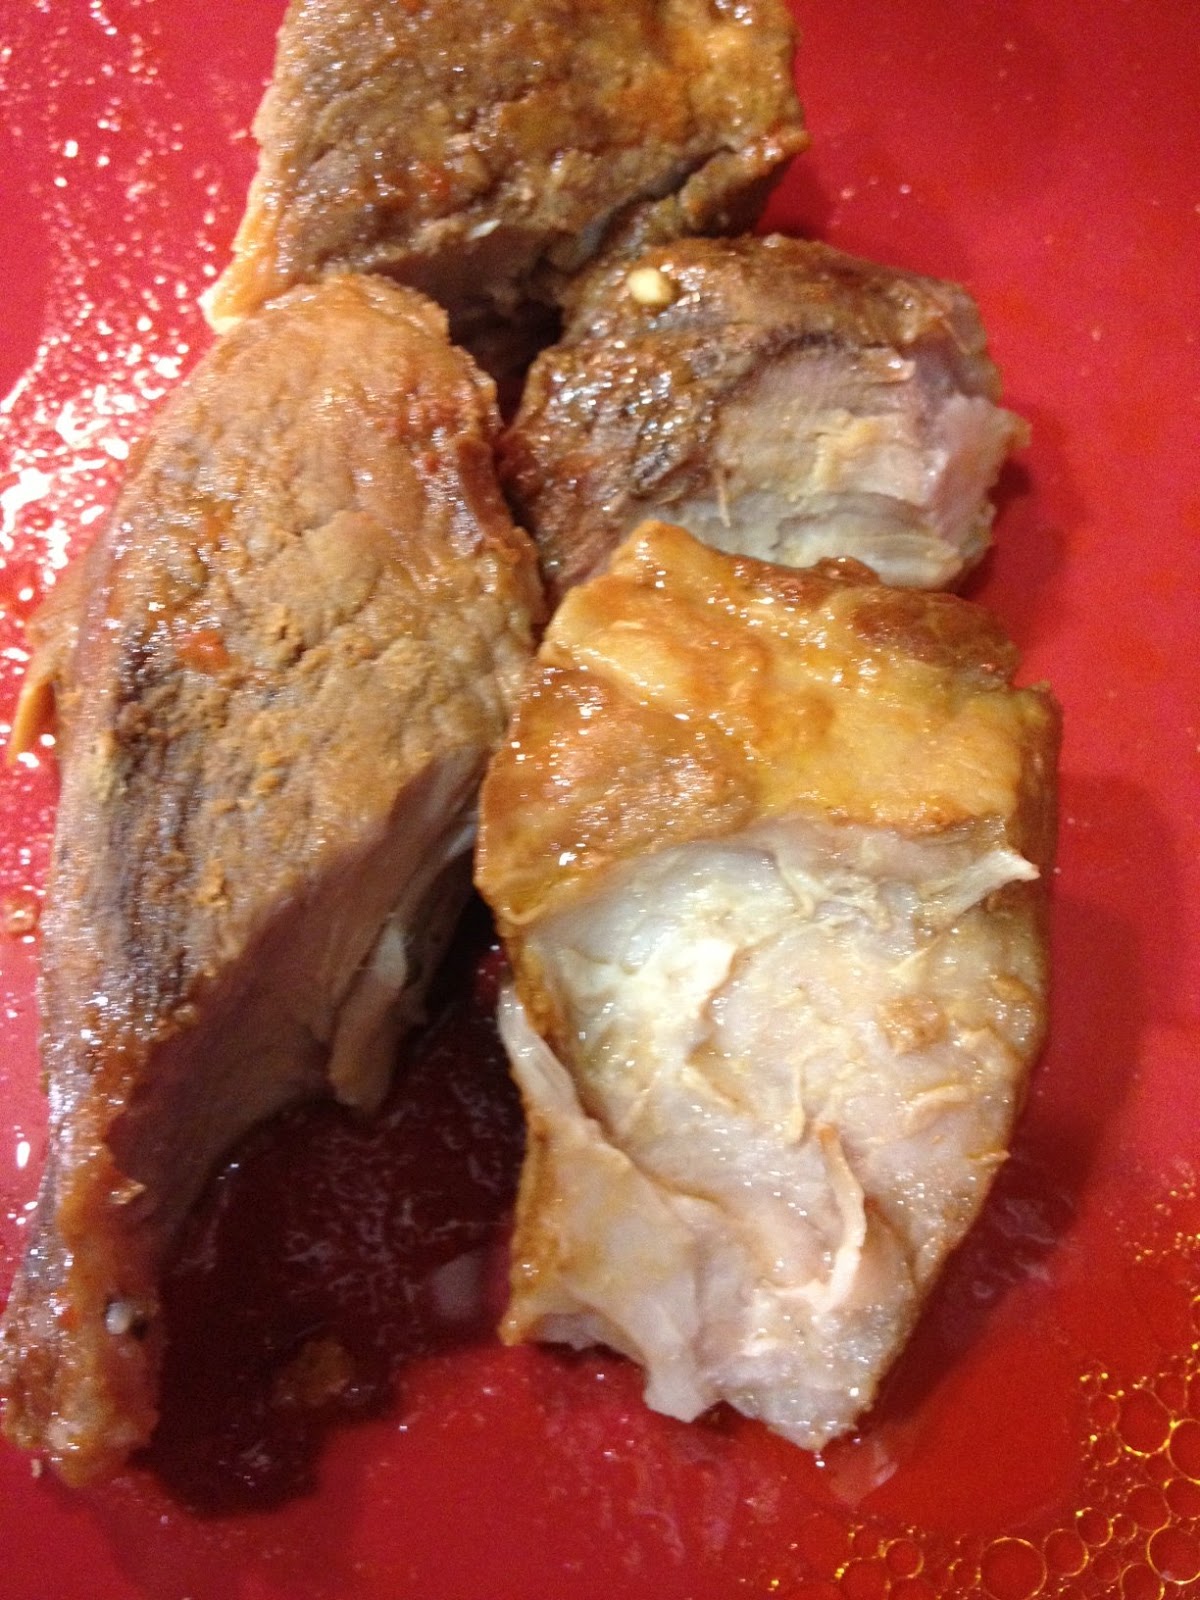
Last night we had ranch pork chops from the crockpot (Dry ranch mix, chicken broth, pork, that is it) served with steamed veggies and a corn pasta. I layered it all on a plate and covered it in a marinara and called it Hobo Pork Primavera. It was fantastic. So tonight I have left over Ranch Pork I'm going to make some fried rice out of. Re-purposing is so fun!
Chicken seasonings of your choice (or if pick one of mine, use BEST CROCKPOT CHICKEN first)
Place defrosted chicken into the crockpot upside down. Cover with seasoning then flip over and cover the top. Place lid on crockpot and if you have a probe, stick it into the breast, closest to the bone but not touching. If using the program, set it for 160 on low. This should take 5-6 hours, but count on it being done sooner so it can continue to sit there and reach the final temp of 180 (fully cooked but not dry chicken). If you set your probe for 180 it will ultimately go over and dry your bird out. If you want to cook on high it's 3-4 hours, but I never recommend a chicken on high. Even with a probe. It looses some juicy.
With this meal I usually serve white rice (I know, boring but when cooked when chicken broth, it's amazing) and a veggie. It's key when you know you are going to re-purpose a meal that you pick things you can cook ahead and re-purpose for your next meal.
So remove ALL of the meat from the chicken bones but leave the bones (and chicken fat and giblets, unless you like eating those) in the crock pot. Cut the extra chicken into bite sized pieces and store for tomorrow.
Also, make 2-3 cups MORE dry rice then you need. You can either put this into your Chicken Rice Soup meal, or the Chicken Taco meal. So save your left overs for tomorrow.
First day: Chicken Broth
A lot of people don't realize that chicken broth is so incredibly easy to make at home and almost free! You know those bones you just picked clean? Add to the crockpot:1 onion
2-3 rough cut carrots (or the peels and ends of carrots you saved from the last time you needed carrots)
1-2 ribs of chopped (or the cleaned ends and leaves of the last batch of celery you used)
2-3 bayleaves
Salt and Pepper
Optional: 1 Tablespoon Apple Cider Vinegar (If you want more nutrition from your broth, use it!)
Fill the crockpot with water (up to the rim) and set it on high. You can cook this for 8-24 hours depending on how rich you want your broth to be. I try to cook mine no less then 24, but often I'm in a hurry to get the broth done for the next day's re-purpose meal. So I stick it in right after dinner and it's ready by dinner the following day.
When you've hit your time, taste and adjust for salt. Usually I cook my broth salt free (only the salt that was in the crockpot from the seasonings first is in the broth as it cooks) and add it when I need it, if it needs it. There are some seasonings that are salty enough.
If you aren't going to use the broth at the moment it's done, strain it with a find mesh strainer (press all the carrots into mush, it gives the broth a great color), allow to cool, then store in fridge or freezer. Just be aware that if you store in glass jars the broth expands and WILL shatter all over your freezer. BTDT. So I love to store my broth in large muffin tins then pop out when frozen and store in another container. Then I have 1 cup portions to play with.
But we are going to go right into tonight's re-purpose meal!
Second day: Chicken and Rice Soup
Once your broth is done, this meal comes together only the time it takes for the rice to finish cooking. Note, this will make two days meals! It makes a bunch! Enough to feed 10-12 people.What you will need:
The broth you just made (or 8-10 cups of broth and water)
Left over chicken from yesterday
Left over rice from yesterday (or 2-3 cups dry white rice)
4-6 thin sliced carrots
2 ribs of celery (sliced thin)
1 onion (sliced thin)
Directions when using leftover rice:
To a large stock pot add: the broth, onion, and your veggies. Turn the heat on high and bring to a boil. AS soon as it starts to boil, set your timer for 10-15 minutes and check your carrots for doneness. When they are just al dente, add in your left over rice and chicken. Once warmed, the soup is done.
Using left over rice makes this a nice comforting soup. When making the rice inside the soup, it's much thicker and more hearty.
Directions when using dry rice, not leftover:
To a large stock pot add: the broth, onion, and your rice.
Turn the heat on high and bring to a boil. AS soon as it starts to boil, add in your carrots and celery, stir and cover until rice is done and tender.
If you use only have minute rice, do not add the rice until the carrots are tender. Alternately, you could add your rice after the carrots are tender. Cover and remove from heat to finish. Though I don't suggest that.
When the rice is almost done, check your broth level. Sometimes I have to add some water to keep it a little more soupy, and some times I don't. This isn't soup like chicken noodle, but it's more hearty with little liquid, but enough to call it soup.
Just before the rice is done, put in the leftover chicken and once the chicken is warm, it's done!
My kids absolutely love this meal and we have it at least once a month (if not twice) in the winter and at least once in the summer.
Second day: Chicken Tacos
This is another second day option and very easy. All that chicken you cut into bite sized pieces makes a perfect base for chicken tacos. And the rice is perfect for a quick Spanish rice.What you will need:
Leftover chicken
Leftover rice
Taco seasoning
1/2-1 cup of salsa
1/2 -1 cup of chicken broth you just made
flour or corn tortillas (alternately you can buy your own pre-made taco shells)
frying oil
veggies for tacos (lettuce, tomato, onion, cheese, avocado, etc)
Combine leftover rice in a pan with chicken broth and salsa. Mix well and sprinkle some taco seasoning over the top. Just enough to color the rice and give it that Spanish flare. Turn on low and let it warm slowly as you put together the rest.
Also sprinkle the left over chicken with taco seasoning. Don't be heavy handed as it can get extra spicy!
Add oil to a pan and once hot enough, using tongs, drop in one corn tortilla. If it starts sizzling immediately, you know you have a good temp. If it just kind sits there, your oil might not be hot enough. Turn the tortilla immediately and fold over like a taco shell. Cook a minute or so on each side then drain on paper towels. I usually spread the first shell apart with my fingers and stack the rest upon it so that they don't dry closed! Nothing worse then a perfect shell that has dried closed.
You can do the same to the flour tortillas but note the inside doesn't get crispy so it's almost like a gordita shell. My husband (who isn't wheat intolerant) loves them.
Once you are almost done with your shells, add some oil to a pan and once hot, add the left over chicken that you've sprinkled with taco seasoning. Fry it up until warmed through.
When everything is warmed and done, put some meat, some Spanish rice, and cheese in a taco shell and let the picky eaters decide what veggies they want on it.
If you don't fry your own shells, this meal takes less then 10 minutes (start to finish) to get on the table.
Hope you found this interesting. I just did BOTH of these this week, so I thought I would share. I have more re-purposed meals I will share as the days go by.
Last night we had ranch pork chops from the crockpot (Dry ranch mix, chicken broth, pork, that is it) served with steamed veggies and a corn pasta. I layered it all on a plate and covered it in a marinara and called it Hobo Pork Primavera. It was fantastic. So tonight I have left over Ranch Pork I'm going to make some fried rice out of. Re-purposing is so fun!